back to industrial tool and machine works
home
Conversion of Taylor Dunn electric burden carrier to gasoline
hydrostatic drive with instant reversing
starting
point- well used unit with cab. Here the rear axle has been
removed and electrics all taken out, and motor with chain drive housing
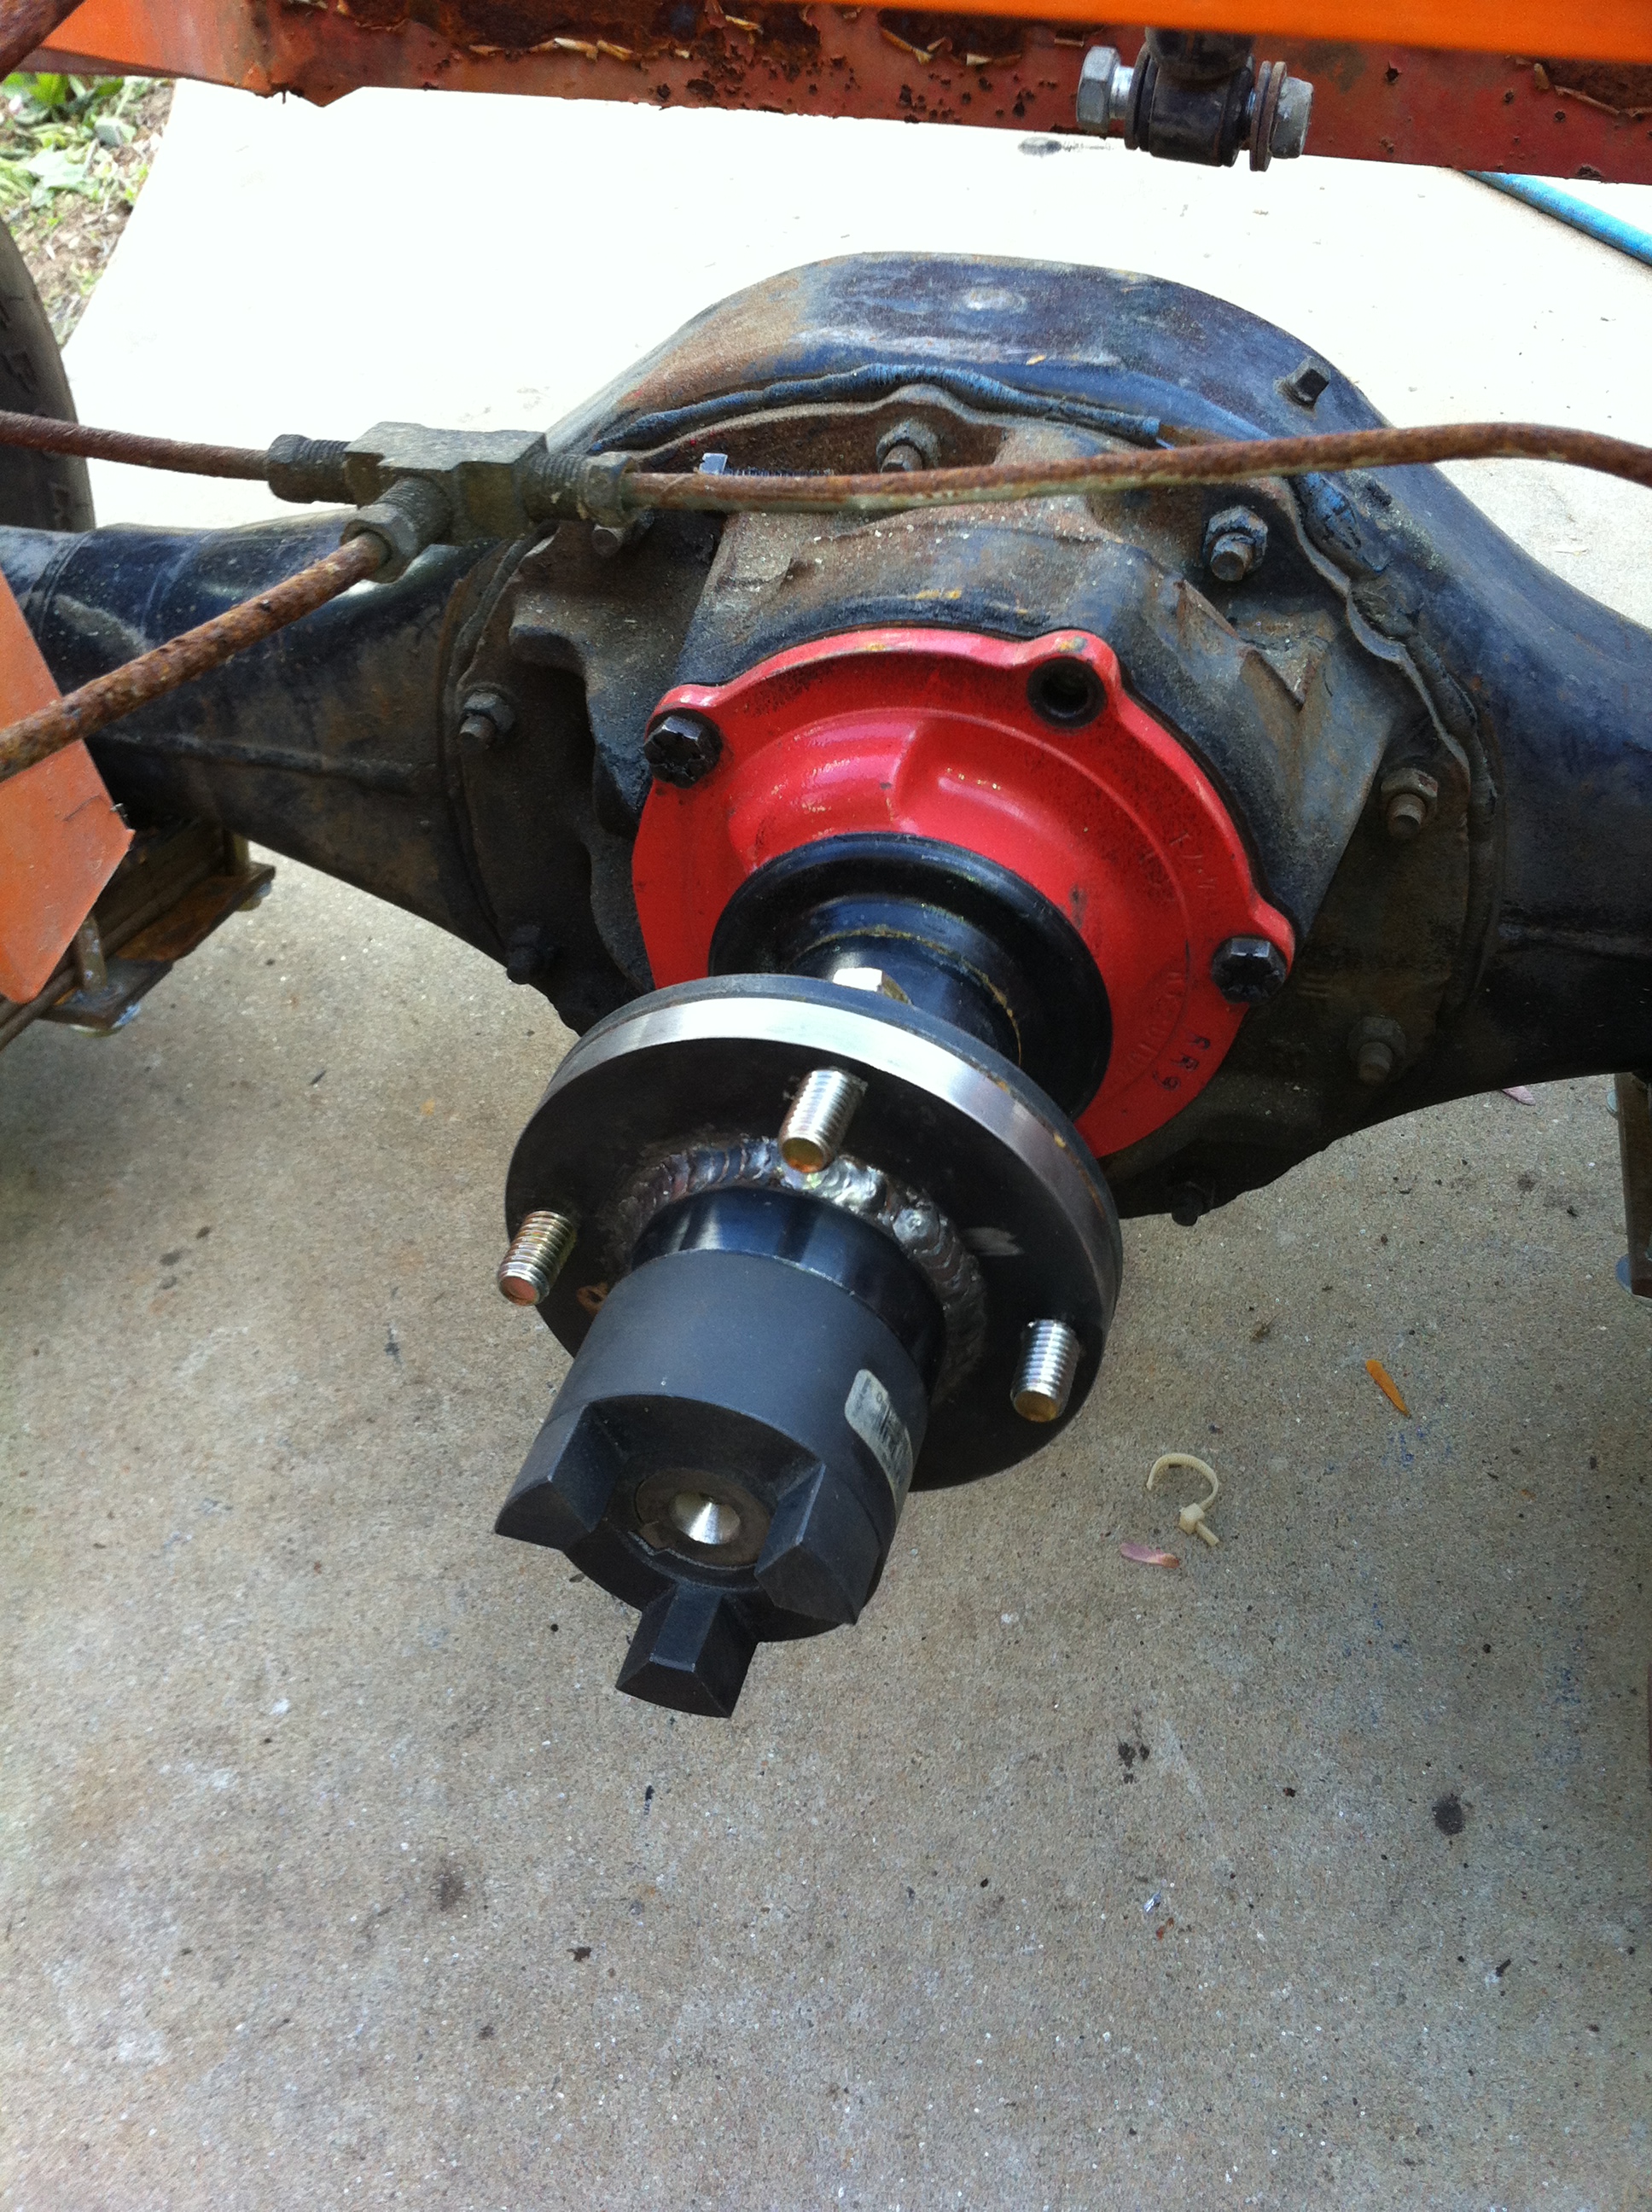
removed from rear axle These use an inverted narrowed ford 8"
rear axle. The pinion carrier (orange, see below) must be
changed
from the taylor dunn part to a regular one to allow bolting
the
drive motor mount to the axle housing on the same bolts, and some
models only have a band brake on the original driveshaft so you will
need to add OEM Taylor Dunn brakes if there are none. Parking
brake is an issue, I used a pushbutton drag racing line lock device
that didn't really work very well.

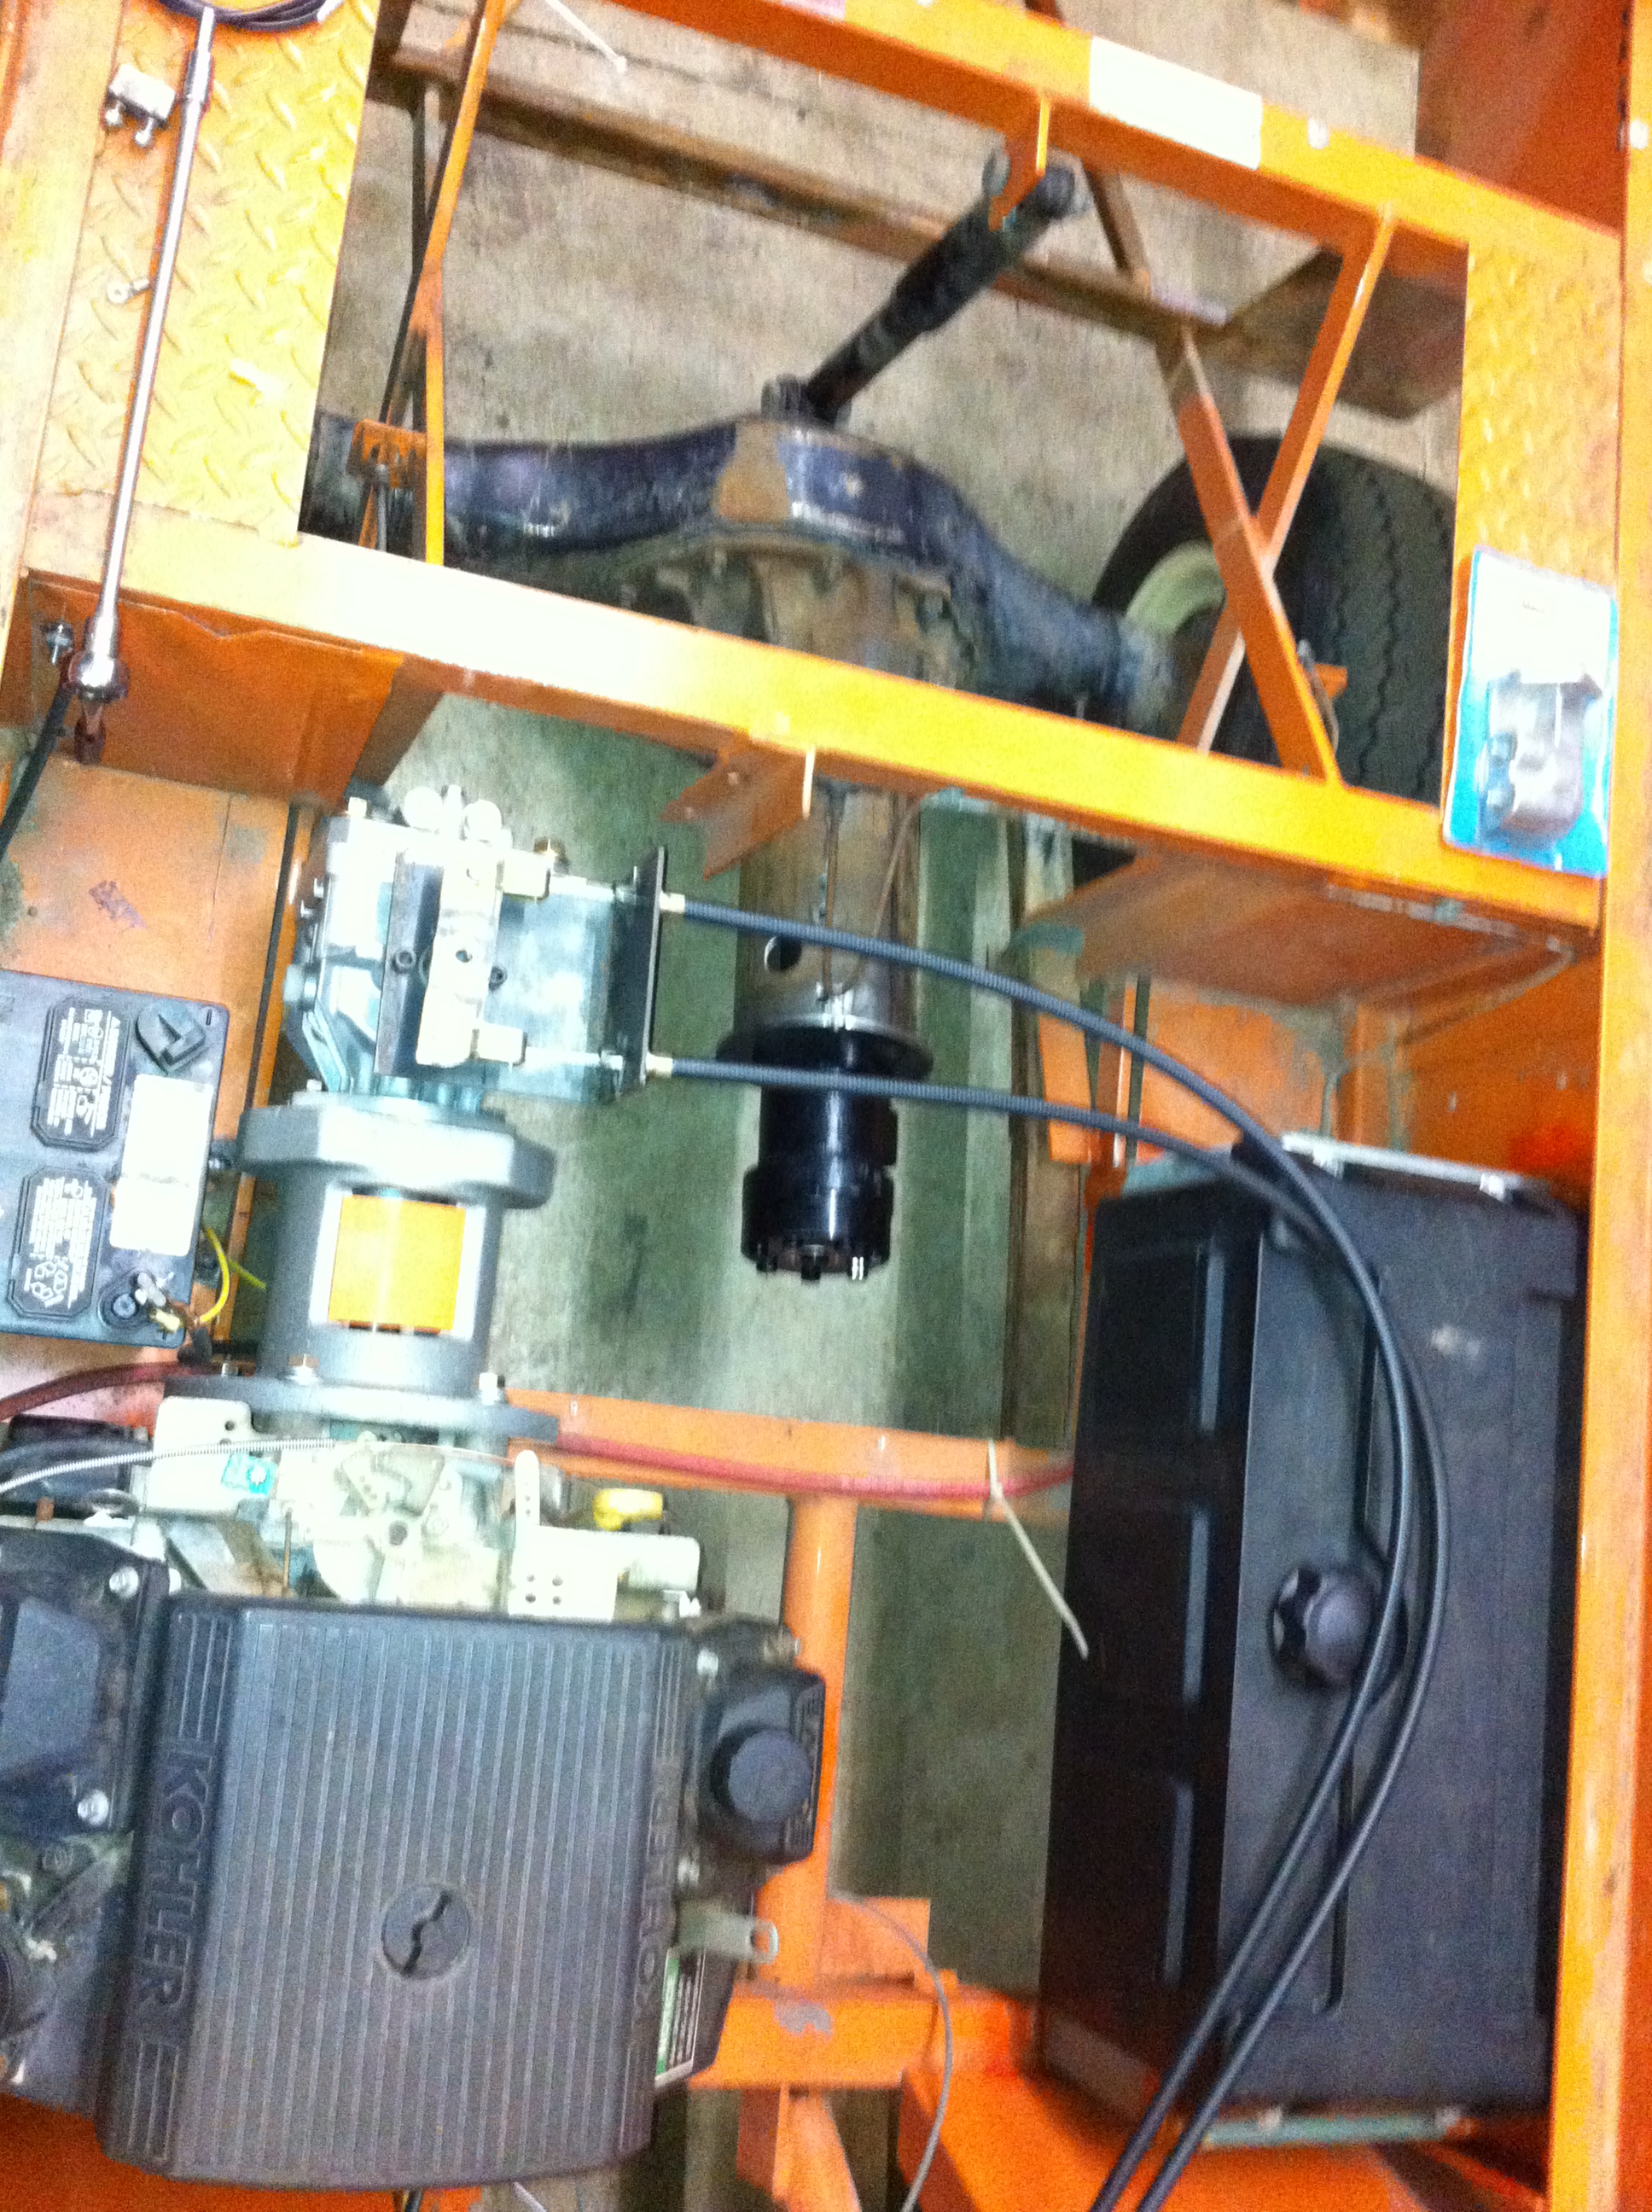
Here's
the 18hp kohler command motor salvaged from a generator. The
motor adapter, lovejoy couplings hydraulic hoses, reservoir and White
brand hydrostatic pump came from Surplus Center. The pump is
the
same one used (in pairs) on Dixie Chopper zero turn mowers.
Motor mount is just a flat plate welded in. There
is no
torque on the motor, and you are free to mount it pretty much anywhere
because it only needs hoses and cables run to it, no driveshaft worries.

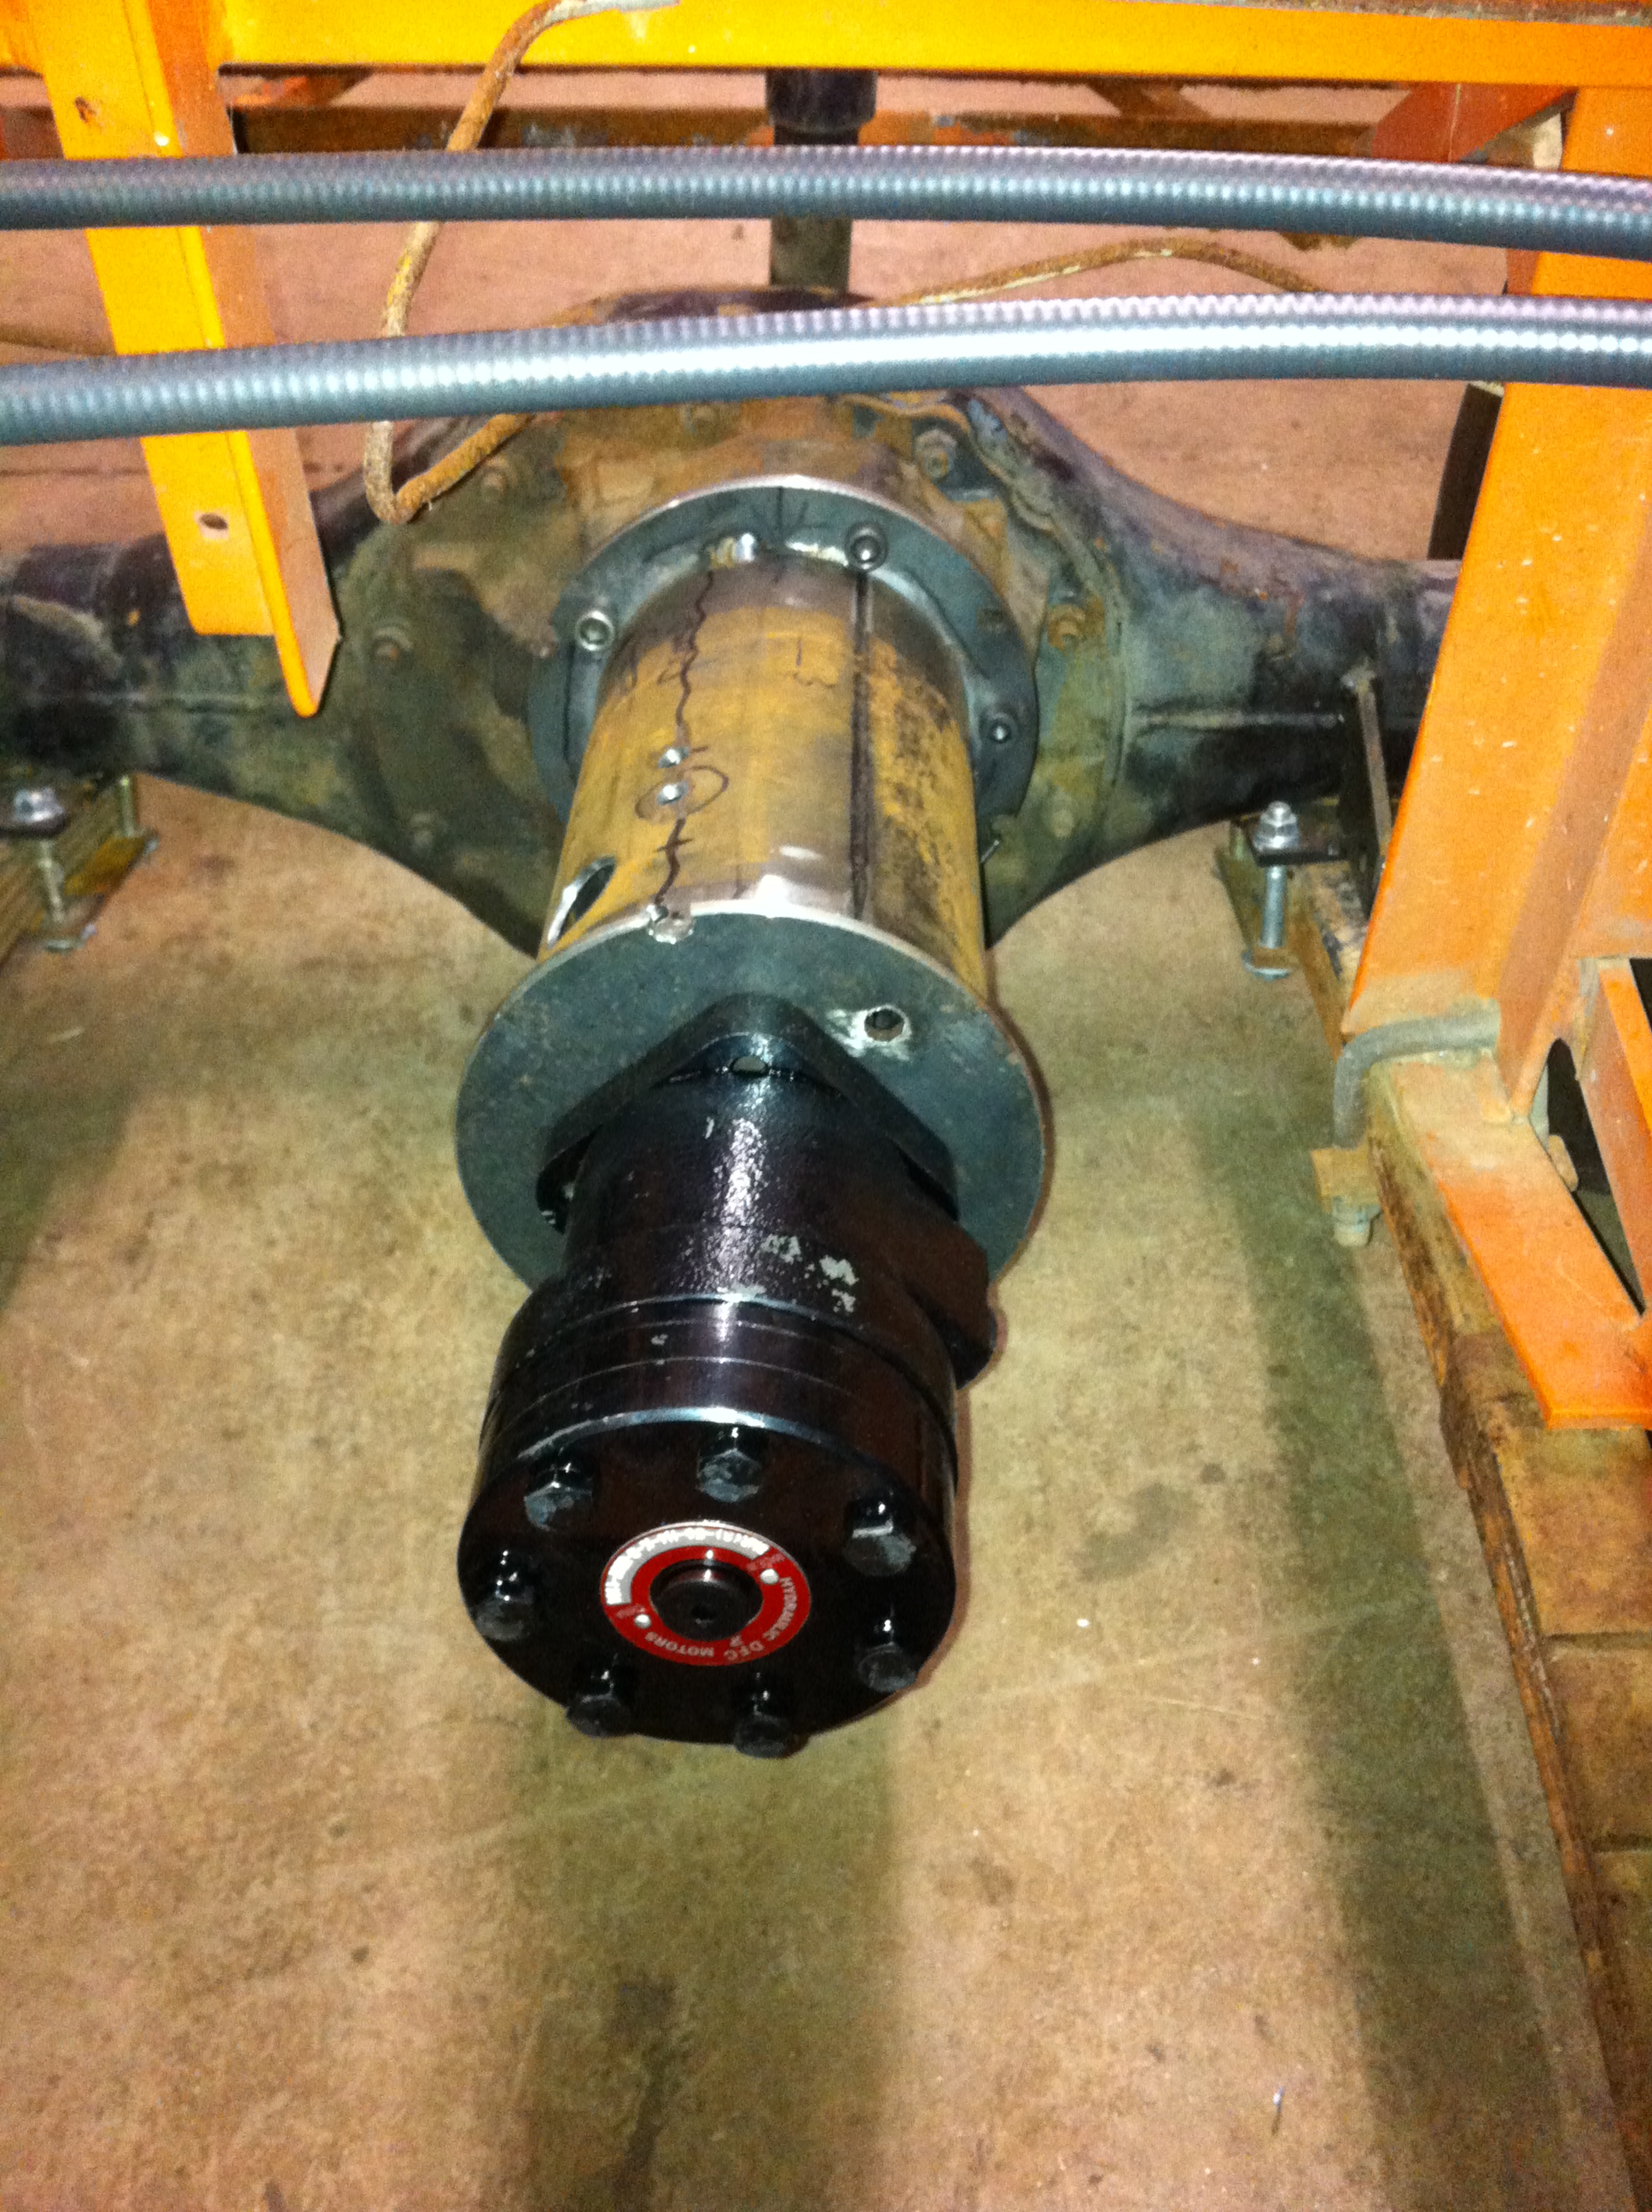
Mount
for hydraulic motor adapter to rear axle before welding. As
there
is another lovejoy coupler inside alignment is not super critical.
Used the hard plastic lovejoy cushions rather than
rubber
as they are rated for higher torque. Mount tube is drilled to allow
tightening the lovejoy setscrews, and the axle end flange has a hole
large enough so the lovejoy to shaft adapter flange I made can fit
thru. The large hole in the mount axle end flange registers
on
the circle that Ford conveniently machined on the orange pinion bearing
carrier, which you can see here. This is nice because all you have to
do is unbolt the unit and the lovejoy coupler will slide apart, no need
to undo any shaft setscrews or flange bolts.inside the tube.


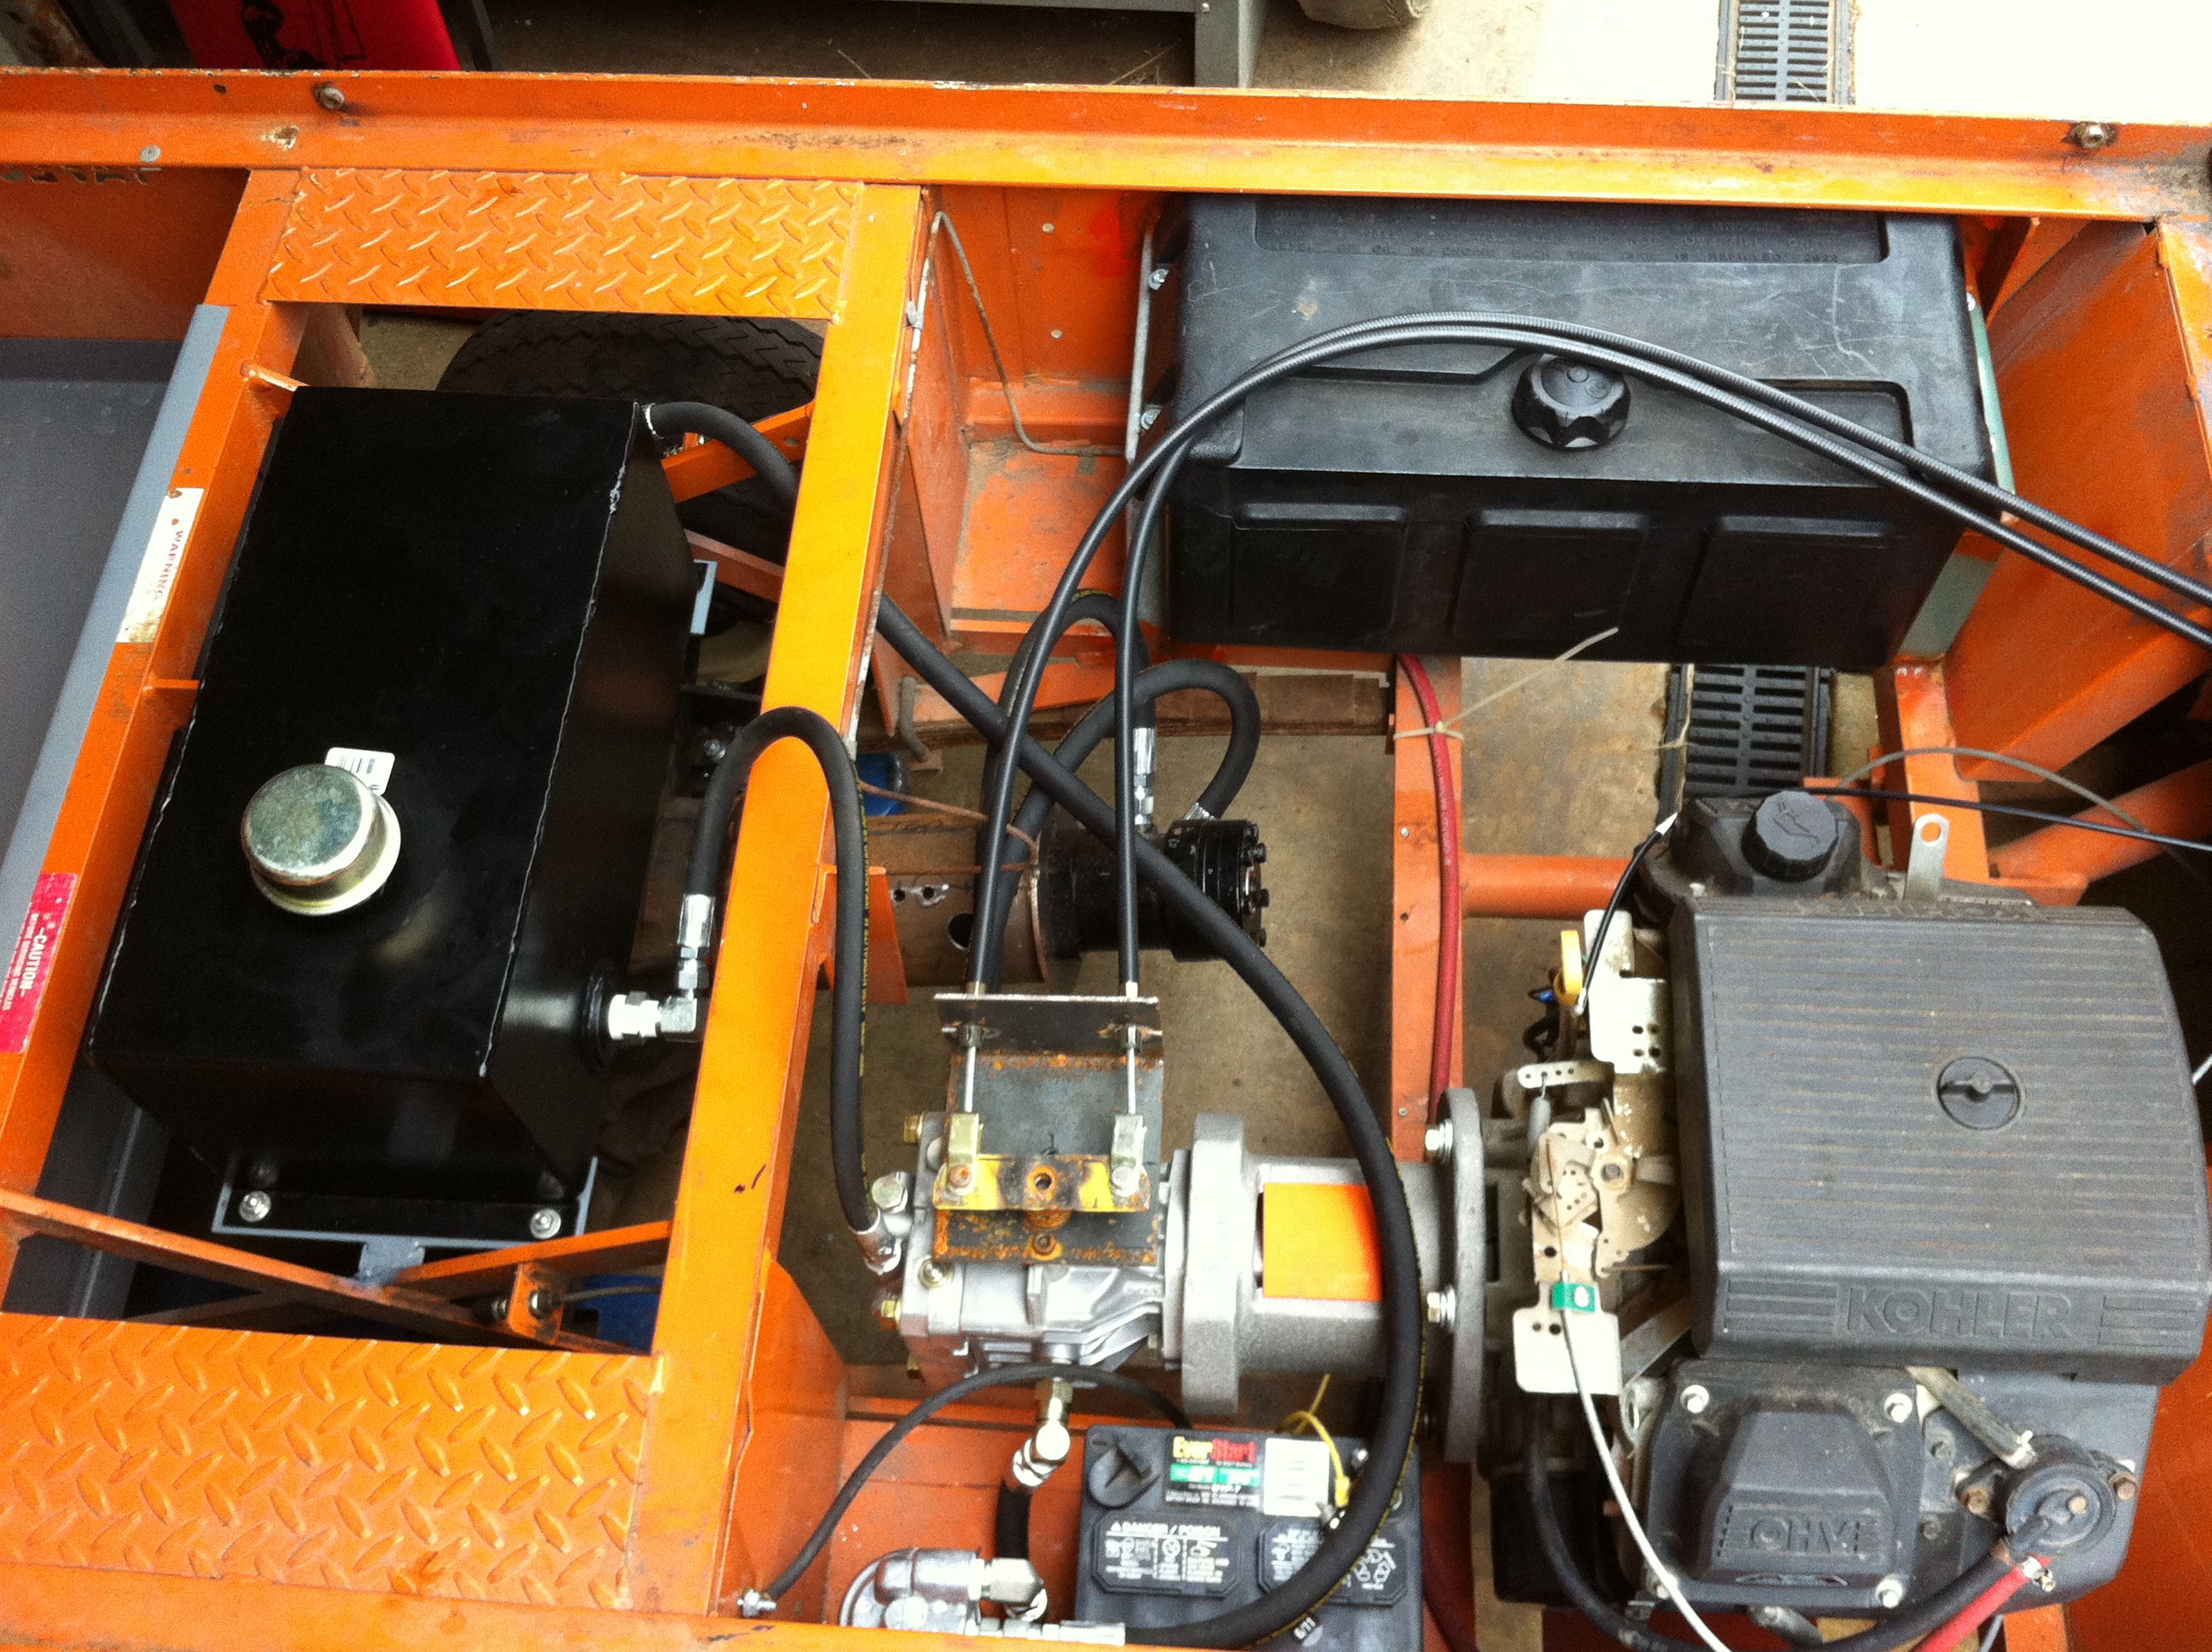
Here
you can see the standard SAE mount hydraulic motor mounted on the tube
and axle. The tank is for fuel, and the bracket on top of the
hydrostatic now has a pivoting lever for the pump control cables that
go to the control stick in the cab.


Installation
of hydraulic lines, filter mounting block, hydraulic oil
reservoir, electric start battery& stock Kohler exhaust system.
I found a hydraulic schematic for the hydro pumps on Dixie
Chopper's website. I did not install an oil cooler because
this
was really designed for short runs with frequent reversing.
It
also has a pretty good size reservoir (around 5 gal) and the oil didn't
get too hot when I was using it :

Another
view of the hoses, and factory Taylor Dunn disc brakes. The
tiny
disks are welded to the axles, and the calipers are small enough to fit
inside standard (although 5 bolt) golf cart wheels I had to
get a
new master cylinder as well. The brake stuff was not cheap.


Here
I've welded a 5" tall or so riser flange to raise the entire
bed
area so it clears the engine and exhaust. The white panel in
the
center is just a reinforcing center support for the phenolic flat bed
to be installed on top. I also welded some stainless steel
tubing
for the exhaust to exit the side of the raised body and put some panels
in for an under bed rear storage space. Another phenolic
panel up
against the rear of the cab has locating holes for corresponding pins
in the bed. You slide the bed panel forward into the holes
and
latch it at the rear, with a car door latching mechanism controlled by
a lever sticking out the rear If I was to do this again I'd
probably do aluminum treadplate on hinges with gas springs, or maybe a
hydraulic side dump with a valve that would allow use of the
hydro pump. You want the bed to overhang the body to keep
water
out, the factory did not do this and had an inset plywood rear deck.

Control
lever and throttle on the stick: This turned out to not be
the
ideal setup. Although it worked well for controlling the
pump,
its a little hard to steer this machine with one hand on the wheel and
one on the stick in tight areas at low speed, which is what I made this
for, Next time I would use a heel toe pivot pedal and push pull cable
hand set throttle like a hydrostatic farm tractor, but that would have
been quite a bit more work & my pump control cables were too
short.
The throttle cable was not yet run. switches on the newly
made
instrument panel are for lights, wipers and ignition key switch
A
straight pull throttle would also make for a neater installation.
The e-brake does nothing. Time for paint


exhaust heat shield

Ready to go. Not ideal for turf, not much ground clearance.
Would have been nice if it had the factory doors


Data
plate says 3000lb capacity. If I recall correctly I took a
leaf
out of the rear spring- after all, no longer carrying 480lbs of
batteries around. Sold the factory charger, motor and
solenoid
panel for good money which paid for some of the parts, and ended up
selling the whole thing after getting too good an offer to keep it.
The first Char-Lynn hydraulic motor was too small a
displacement,
so the unit went fast but did not have enough torque.
I had
sized the motor based on the displacement of the pump, rear axle gear
ratio, tire size and desired working speed but it was not ideal.
I swapped hydraulic motors for the next larger one (same
mounting
bolt pattern, 15 minute job) and it was perfect, enough to spin the
tires on the loading ramp when it was sold.
back to Industrial tool and machine works
home


